
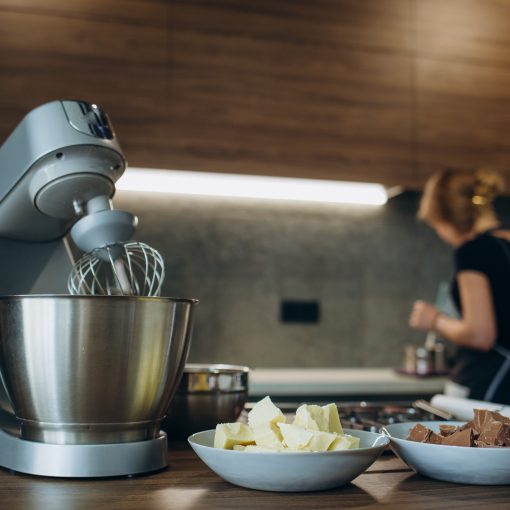
When grease leaks from the head of a stand mixer, most people assume the machine is breaking down. It is not always that simple. While leaking grease can signal a problem, sometimes it is a normal result of wear, temperature, or storage conditions. Understanding what causes it and how to handle it properly can keep your mixer running smoothly for years.
Why Grease Leaks From a Stand Mixer
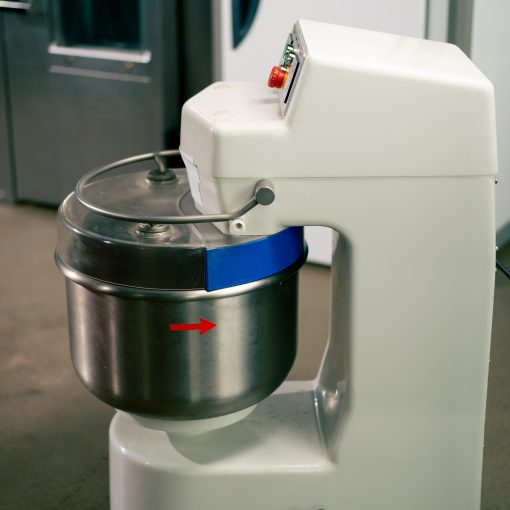
Stand mixers rely on grease inside the gear housing to reduce friction and keep the gears moving quietly. Over time, that grease breaks down. When it does, the oil inside the grease can separate and seep out through the mixer head. This oil separation often shows up as a small puddle under the machine or dark streaks around the attachment hub.
We have seen this happen often with older mixers or units that sit unused for long periods. Heat exposure can also thin the grease, causing it to leak out during heavy use or when stored near a heat source. Even a brand-new mixer can release a little oil if it was stored in a warm environment before being used.
Signs the Problem Needs Attention
Not all grease leaks mean a repair is necessary, but certain signs should not be ignored. If you see oil dripping into the mixing bowl, it can contaminate food. If you notice grinding noises, jerky motion, or vibration during use, the internal gears might not be getting enough lubrication.
Grease that smells burnt or looks dark and sticky instead of creamy can indicate that the original lubricant has broken down completely. When that happens, the mixer may soon overheat or seize. A professional cleaning and re-greasing at that point can prevent much larger damage later.
If your machine has been leaking for a while or has developed new sounds, it might be time to look into mixer repair services in Calgary. A proper technician can open the housing, remove old grease, inspect the gears, and replace everything with the right food-grade lubricant.
Understanding the Role of Food-Grade Grease
The grease used inside stand mixers is not the same as standard mechanical grease. It is food-grade, designed to be safe even if small amounts come into contact with ingredients. That does not mean you want it in your cake batter, but it also means the substance is non-toxic.
This grease must stay thick enough to cushion the gears but soft enough to circulate under pressure. When it ages, it either hardens into clumps or liquefies and runs out. Both cases reduce lubrication and create stress on the motor. Replacing the grease at regular intervals prevents that breakdown and protects the machine’s internal parts.
We have noticed that mixers kept in humid kitchens or near ovens tend to need re-greasing sooner than those stored in cooler areas. Proper storage and occasional inspection can extend the grease life significantly.
How to Check the Extent of Grease Leakage
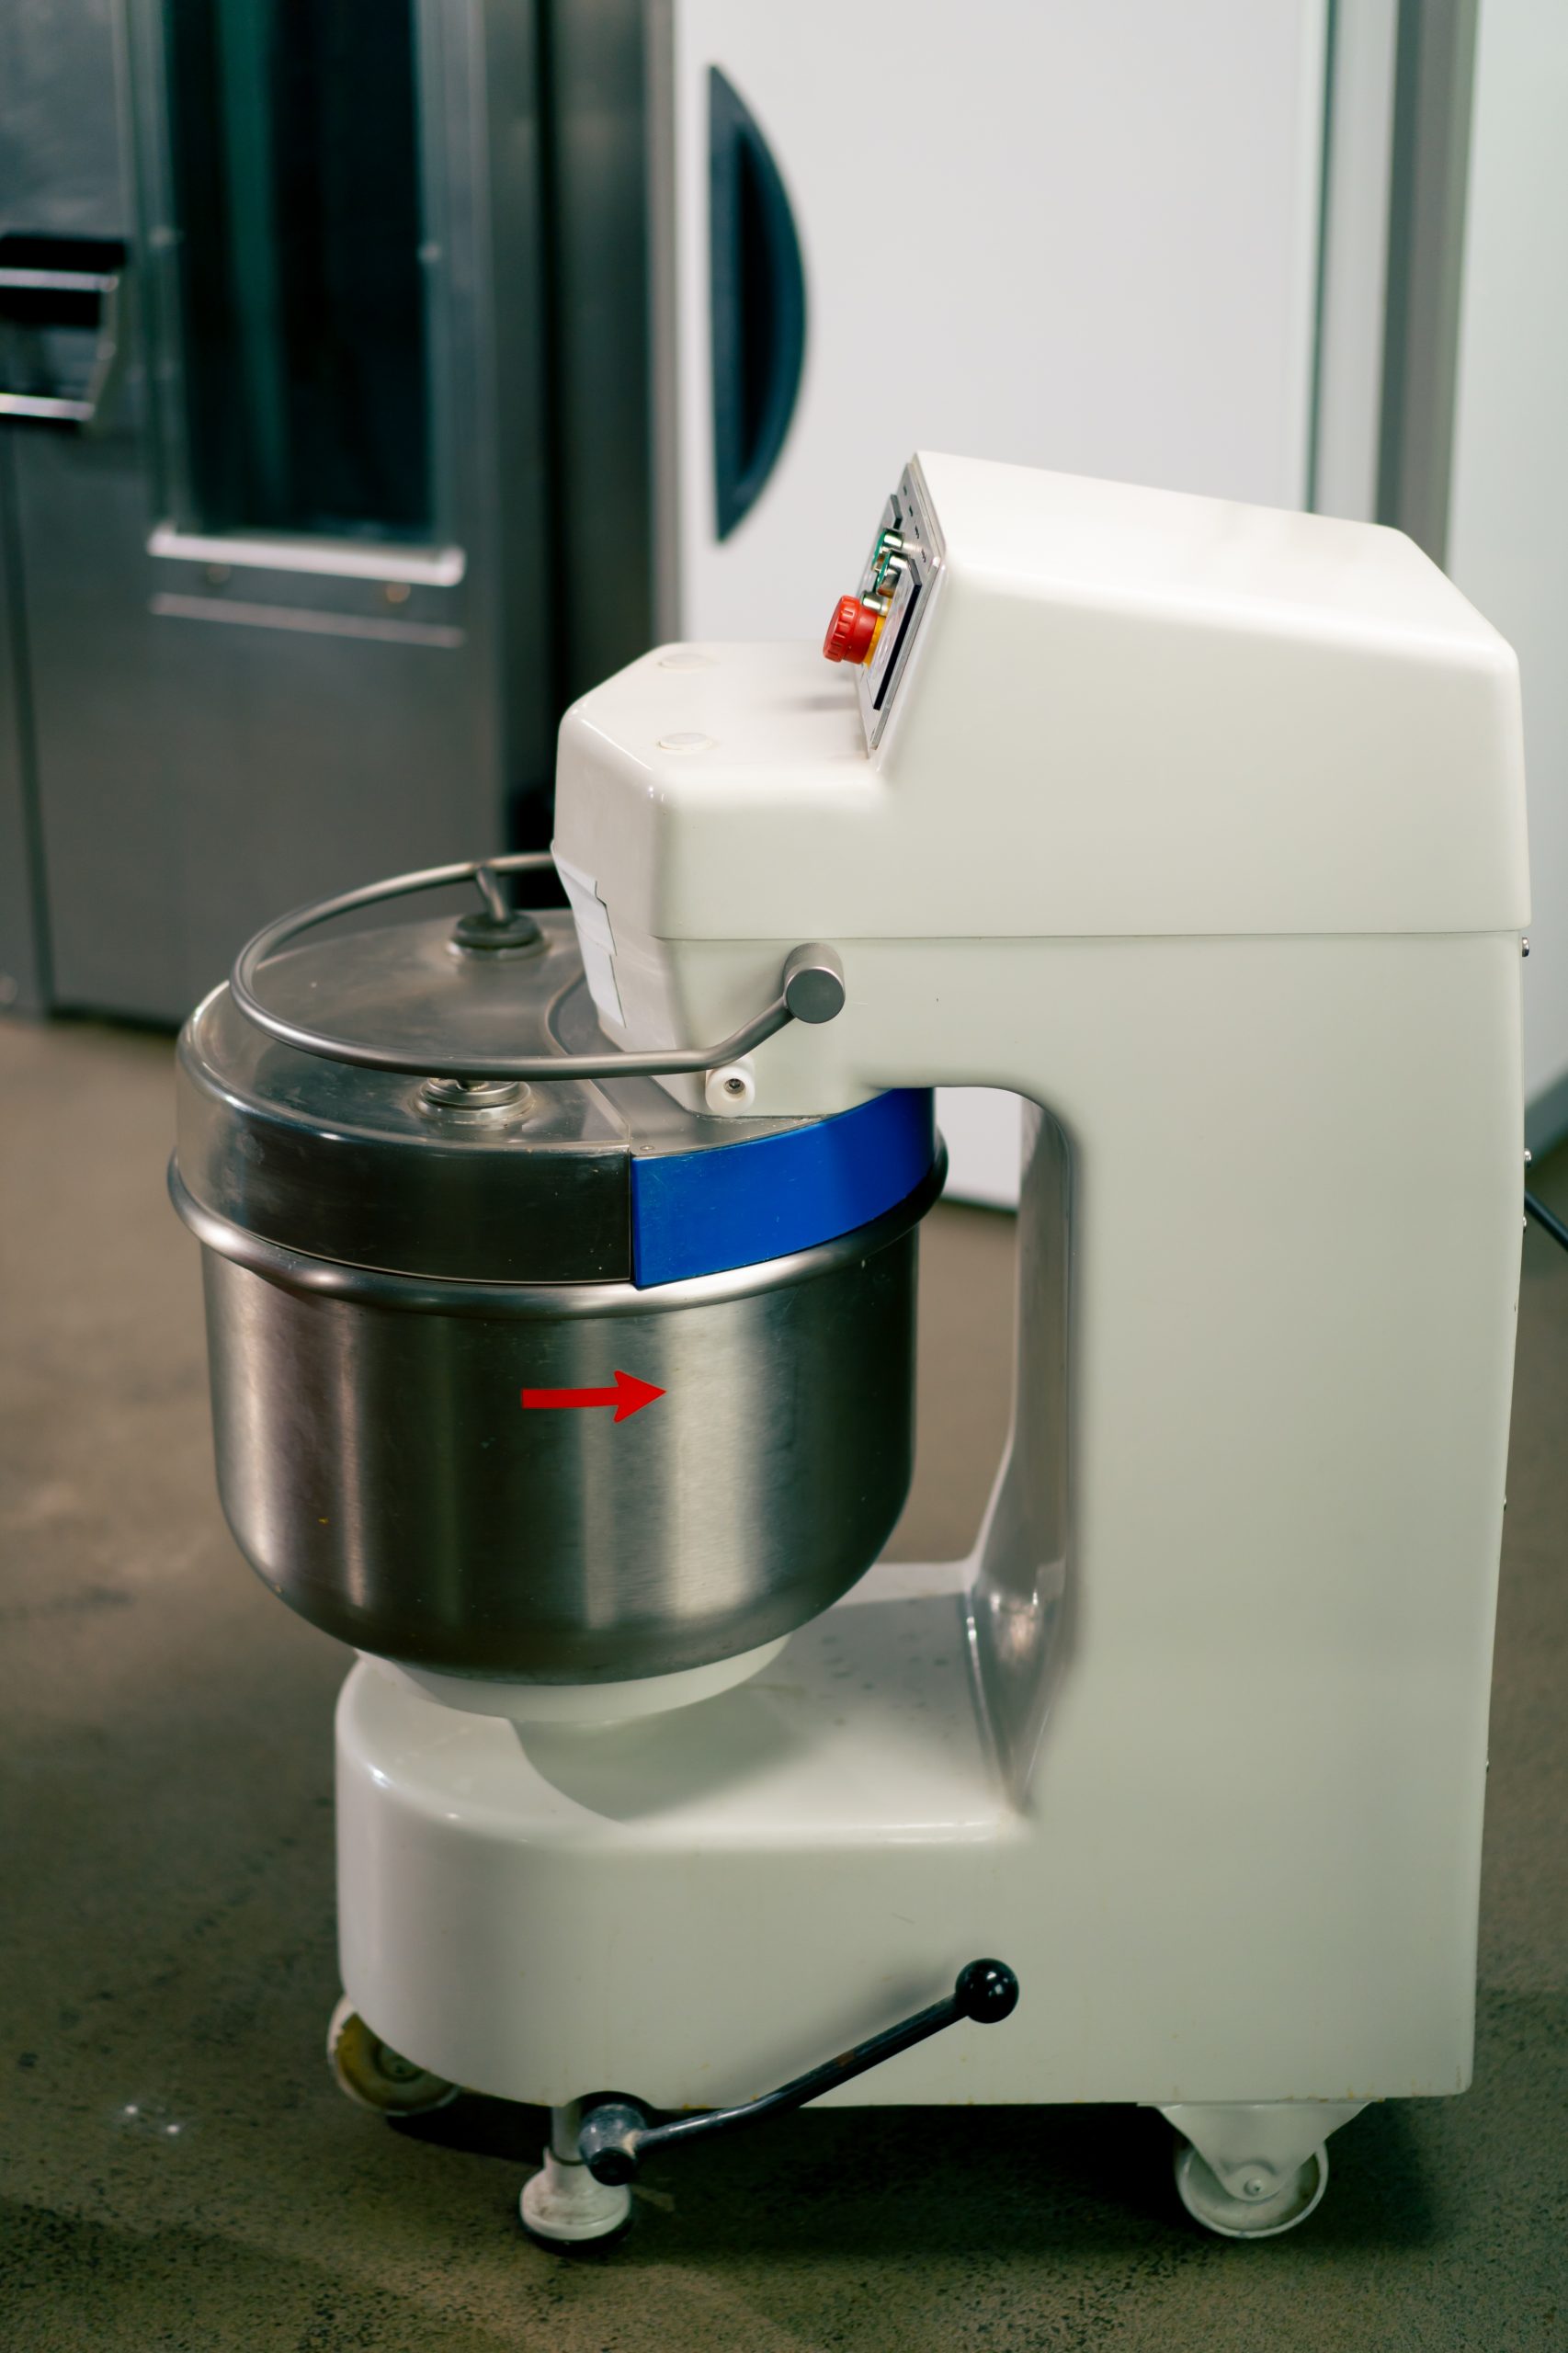
If you suspect a grease leak, start by unplugging the mixer and wiping the exterior clean. Run it on low speed for a few minutes and then check again. If oil reappears near the attachment hub or under the planetary section, it confirms that grease has separated internally.
You can also remove the attachment and tilt the mixer head back to check for residue or buildup underneath. A few small spots of oil do not require immediate service, but a steady leak means the grease reservoir has likely thinned out. If the oil drips from the beater shaft or leaves stains on your countertop after every use, the internal gasket may no longer be sealing properly.
In that case, continuing to use the mixer without service can shorten its lifespan dramatically. Once internal gears start running dry, friction builds up quickly, leading to expensive motor or gear failure.
What to Do if Oil Leaks Into the Mixing Bowl
If oil leaks into the bowl, stop using the mixer until it is cleaned and re-greased. While the grease is technically food-safe, old or burnt lubricant can alter the taste of food and should never mix with ingredients. Wipe the bowl and attachment thoroughly, then clean the planetary area with a soft cloth and mild detergent.
Never spray water or cleaner directly into the mixer head. Moisture can push oil deeper inside or cause rust on metal components. After cleaning, keep the mixer upright and allow it to rest at room temperature for several hours before trying again. If the leak returns, that is a clear sign it needs internal servicing.
The Re-Greasing Process Explained
Re-greasing is not as simple as adding more oil. It involves a complete disassembly of the gear housing, removal of the old lubricant, inspection of the gear teeth, and careful application of new food-grade grease.
Professionals use a specific amount of grease—too much can cause overheating, and too little leads to gear wear. Each mixer model has its own torque settings and gear arrangement, so doing it without the right tools can easily damage the housing or misalign components.
When we re-grease a mixer, we also check for cracked gears, worn bearings, and seal integrity. Often, a small gasket replacement during this process prevents future leaks. A full service every few years ensures the mixer remains strong and quiet even under heavy use.
Storage and Temperature Tips to Prevent Future Leaks
Temperature control plays a major role in how grease behaves. Always store the mixer in a cool, dry space. Avoid placing it near ovens, dishwashers, or heating vents. If your kitchen gets particularly warm, consider storing the mixer in a cupboard when not in use.
We have also found that running the mixer occasionally, even when not baking often, helps prevent oil separation. The gentle movement redistributes the grease throughout the gears and keeps it from settling. A quick run every few months can extend the time between full re-greasing sessions.
If you live in an area with large temperature swings, make sure the mixer stays in a stable environment. Extreme cold can harden the grease and strain the motor when it starts up, while extreme heat accelerates breakdown.
Common Mistakes People Make When Handling Leaks
One common mistake is wiping away the oil and ignoring the problem. That may seem harmless, but it hides the fact that the internal grease is no longer effective. Another error is trying to use regular automotive or industrial grease as a substitute. These products are not food-safe and can damage internal components.
Some people attempt to open the mixer themselves, only to strip screws or pinch internal wires. Even with online tutorials, it takes specialized tools to open certain models without breaking plastic covers or gear seals.
Grease leaks rarely fix themselves. Once the internal seal begins to fail, more oil will escape until the grease is replaced. Addressing it early costs less and protects your mixer for the long term.
If the leak persists or affects your baking results, you can always contact us for professional service advice or inspection scheduling.
When to Replace Rather Than Repair
While most grease leaks are easy to fix, there are times when the cost of repair outweighs the mixer’s value. If the housing is cracked, the motor overheats repeatedly, or replacement parts are no longer available, replacing the unit may be more practical.
However, in many cases, mixers built years ago are sturdier than modern versions. Investing in a professional service can bring them back to near-new performance. A full re-greasing restores smooth operation, eliminates noise, and can make an old mixer feel reliable again.
Professional Insight: How Long Grease Should Last
In our experience, stand mixer grease lasts about five to seven years under normal household use. Heavy bakers or commercial users may need servicing every two to three years. If you bake frequently or use thick doughs, pay attention to sound and performance. Any change in pitch, vibration, or oil smell often signals early grease breakdown.
When properly maintained, a stand mixer can easily last several decades. We have serviced units over 30 years old that still run beautifully after a proper cleaning and lubrication. Preventive maintenance costs far less than replacing a motor or gear assembly later.
FAQ
Why does my stand mixer leak oil after sitting unused for months?
When mixers sit for long periods, the grease inside separates, and the lighter oil seeps out. Running the mixer occasionally prevents separation.
Can I keep using the mixer if the oil leak is small?
You can use it temporarily, but leaking means the internal grease is breaking down. It is better to have it serviced soon to avoid gear damage.
Is it safe if some grease gets into the dough?
Food-grade grease is non-toxic, but it is not meant to be eaten. Clean the bowl and have the mixer re-greased to prevent contamination.
How do I know if my mixer needs a complete re-grease or just cleaning?
If oil leaks repeatedly or if you hear grinding or clicking sounds, the grease has likely thinned or hardened. A full re-grease is necessary.
How much does it usually cost to fix a grease leak in a stand mixer?
The cost varies depending on the model and damage. Most repairs involve cleaning, re-greasing, and gasket replacement, which are usually affordable compared to buying a new mixer.

